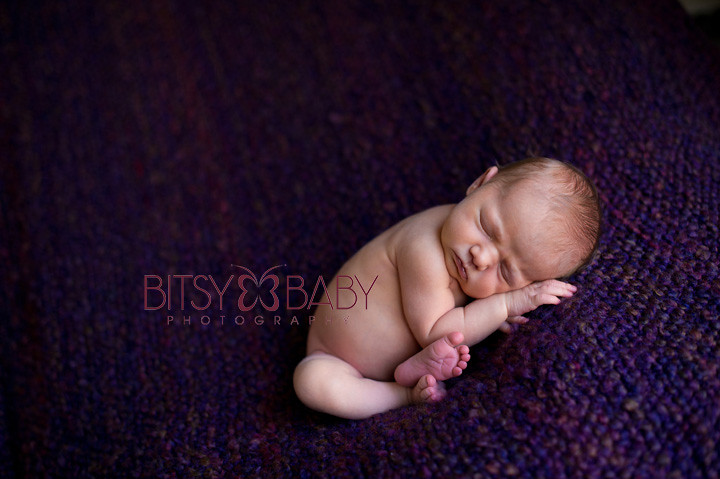
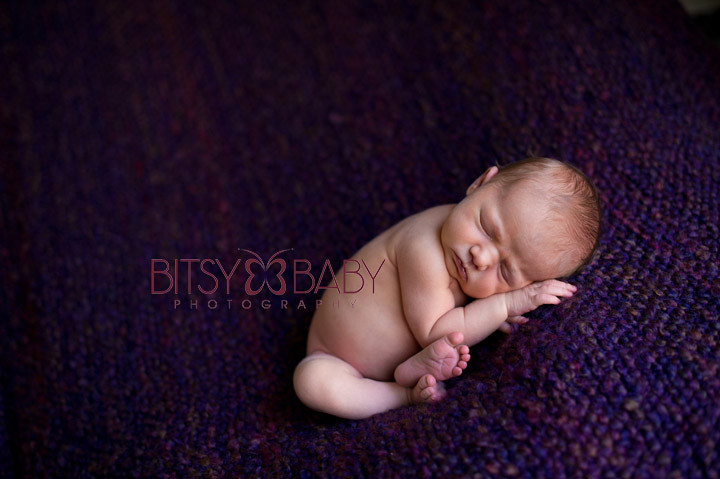
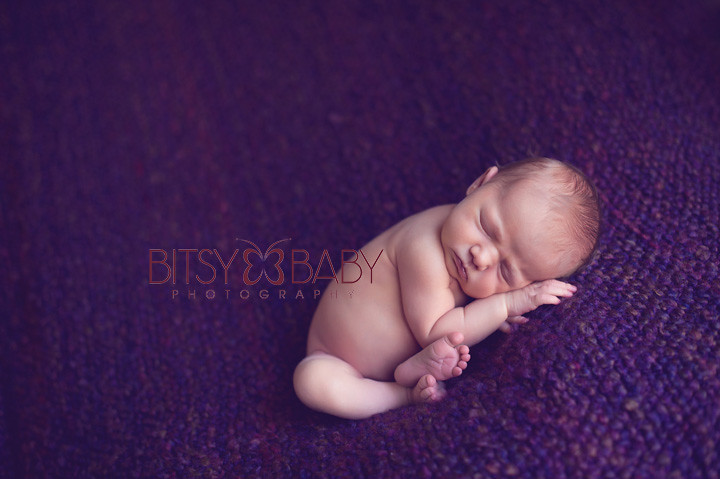
Post processing for taking the red out of newborn baby's feet!
There are actually quite a few ways to do this. I will go over the method I’ve always used. It’s easy, even if you are new to Photoshop.
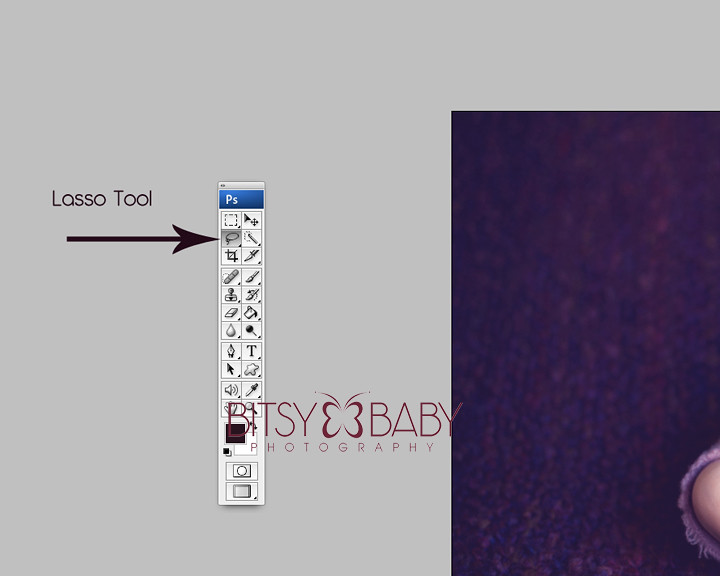
Using the lasso tool (top left of the Tools Palette, looks like a rope) set to feather at 10 pixels, lasso the baby’s feet.
Open the Color Balance adjustment (control B on a Mac or go to the menu at the top & click on Image – then Adjustments – then Color Balance ) and reduce the red and blue by sliding the top slider to the Left (adding more cyan) and the bottom slider to the Left (adding more yellow). This is going to be a different amount for each baby’s feet. For this baby I had both of them at -12.
Open the Hue/Saturation adjustment, (Control U on the Mac or go to the menu at the top & click on Image – Adjustments – then Hue/Saturation) and reduce the saturation slightly by moving that slider to the left. Again, the adjustment amount is different for each baby but typically I find myself reducing by -4 or -5 here.
De-select (Control D on a Mac or go to the menu at the top and click Select – then Deselect) and take a look to see if your baby’s feet blend with the body well enough. If not, go through those steps again until it is as perfect as you like.
I typically do this to all the images where the feet are showing. With practice you will be able to do it in your sleep and it will only take you seconds!


Love this! Thanks so much for sharing Rita.
ReplyDeleteThis helped me so much! Thank you! :)
ReplyDelete